2.26.2011

Calling all Soda Jerks!

Have you ever wanted to go back in time to, say the 40’s or 50’s? Have you ever thought about the old soda fountains they used to  have in corner drugstores? Oh, I have. My grandparents live in a small town in South Carolina, and they have  a drugstore there with a soda fountain and they make the best milkshakes you can ever taste there, right in front of you as you sit at the counter… not to mention the hotdogs.

Anyway, I came across a recipe not too long ago that I just had to try, and I’ve been trying to come up with reasons to try it out. I finally got to yesterday as I hosted a bachelorette party at my house.

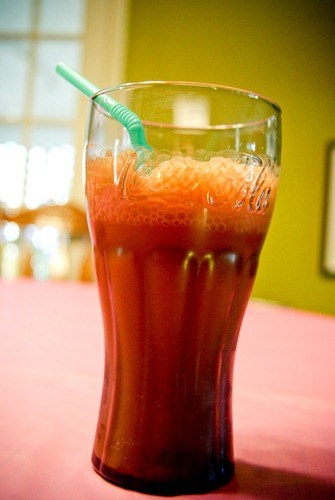
Chocolate soda. Yes. I know, it sounds … funny. Some may even think it sounds gross. But I assure you, it is not gross. It’s a little different,  but it’s still … good.

SONY DSC

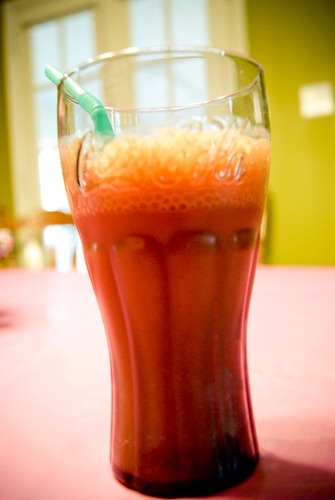
All you need is some chocolate syrup, some club soda, a fun straw, and if you want – vanilla ice cream! Pour the chocolate syrup in the bottom of the glass (however much you prefer- it’s up to you!), and then pour some of the club soda in. Mix it up and put your ice cream scoops in, stick a straw in it, and enjoy!

Yum!

SONY DSC

PS – I wasn’t calling you all jerks! That’s what the people were called who would operate the soda fountains! So bring out that inner Soda Jerk and try something new! You might like it, who knows?
2.08.2011

Ambrosia Salad

So last Saturday we had a Ladies’ Breakfast and I was trying to figure out what to make. I called my mom and asked if she had any good ideas (because she is an awesome ‘chef’, actually) and she did have an idea, and a very good one at that. Ambrosia salad. Ever heard of it? Well it’s pretty incredible, and perfect for any sort of breakfast or brunch get together! I gotta say, it was a hit!

Here’s what you need:

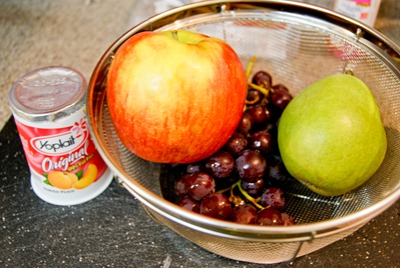
1 Large Apple
1 Large Pear
1 Cup Grapes (I used red seedless because it made it look  so pretty)
3 Naval Oranges
1 6oz Container of Low-Fat Peach Yogurt

SONY DSC

Not pictured – the oranges. Woops.

Here is what you do:

1. Cut your apple and pear into cubes. Bite-sized is good.
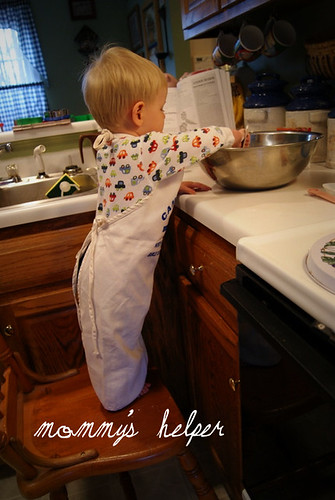
2. Give some pieces to your toddler who is undoubtedly at your feet begging {if you happen to have a toddler}

SONY DSC

3. Peel your oranges and separate them into sections.
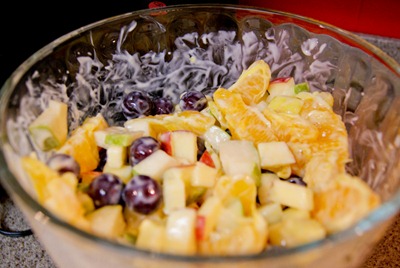
4. Put all the fruit into a pretty bowl – I used a trifle bowl.
5. Mix in the peach yogurt.
6. Enjoy alone or with some good friends or family.

SONY DSC

Doesn’t that look yummy?

Heads up, 7Up.

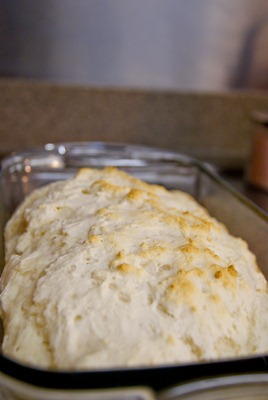
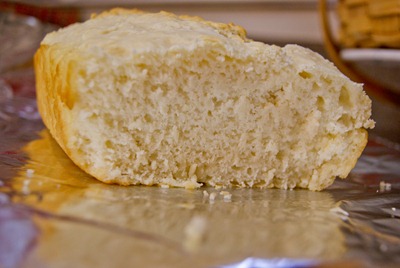
So we all know I love to bake. Recently, though, I decided I wanted to try baking bread, but I wanted to start off small and work my way up. So I was thumbing through one of my cookbooks and came across a recipe for 7Up Bread. I thought it looked pretty simple, seeing as it only has three ingredients. How could I possibly mess up three ingredients? Well, by not baking it thoroughly. But it was still edible and it was still really good! It didn’t last very long (as we had guests over for dinner that night). Here’s how you do it:

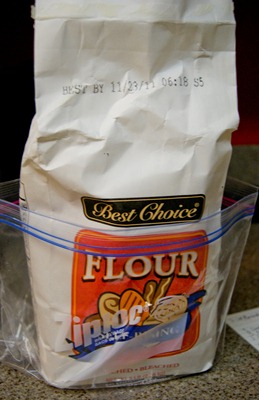
SONY DSC

3 Cups of Self-Rising Flour

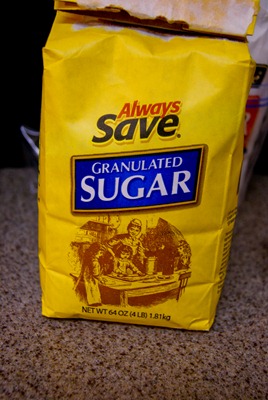
SONY DSC

3 Tablespoons of Sugar

SONY DSC

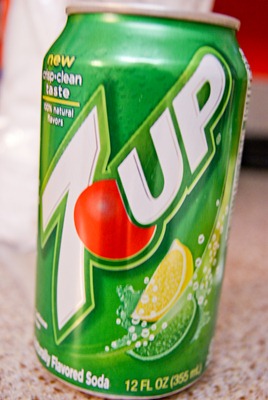
1 Can of 7Up.

SONY DSC

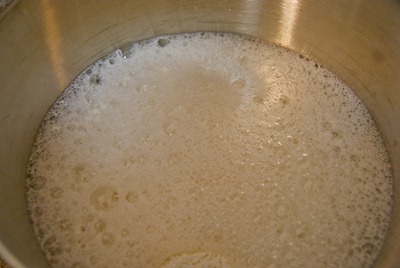
Mix it all together… it’ll be all frothy like so to begin with.

SONY DSC

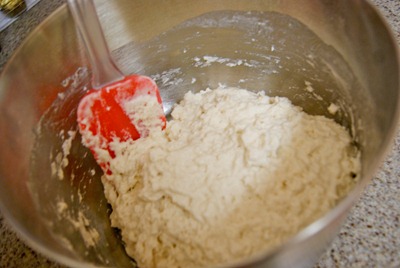
But then it’ll be something like this. And super sticky. Whoda thunk it?

SONY DSC

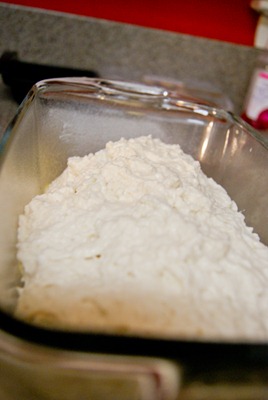
Form it into a loaf as best you can, ha!

SONY DSC

Bake at 350 for 30 minutes. Or longer. I should have baked mine longer. Do it till you’re comfortable but don’t blame me if it messes up somehow.

SONY DSC

Eat up. It’s good. Seriously. And tell me if you try it!!

12.23.2010

Cookies You Can Catch {If You Run Fast Enough}

Run, Run, as fast as you can, you can’t catch me, I’m the Gingerbread man!”

‘Tis the season for cookies, right? I love to bake around the holidays and this week Benjamin and I baked gingerbread cookies. None of our cookies got away from us {although a few did break their legs so that could be why}, and I wanted to share the recipe with you all! Don’t worry, you don’t have to have men-shaped cookie cutters! We did trees, ladies, men, bears, and Benjamin’s personal favorite: stars!

Here’s what you need:

2 bowls {One larger, one kinda medium}
5 cups flour
1 1/2 teaspoons baking soda
2 teaspoons ground ginger
2 teaspoons ground cinnamon
1 teaspoon ground cloves
1 cup Butter Crisco {or other shortening – we didn’t use butter Crisco, just reg}
1 cup sugar {as it happens, I forgot to add this… and it still tastes fine! just not as sweet}
1 egg – OR 4 teaspoons meringue powder + 4 tablespoons water
1 cup molasses
2 tablespoons vinegar


Here’s what you do:

Phase One: Grease your cookie sheets & preheat your oven to 375. {in medium bowl} Stir together flour, soda, spices, and 1/2 teaspoon salt. Set aside. {or let your toddler keep mixing it while you take care of the next two steps}

Phase Two: Mix together the meringue powder and water until well mixed and frothy.

Phase Three: {in large bowl} With an electric mixer set on medium speed, beat the shortening for at least 30 seconds. Add sugar and increase mixer speed to high, beating until fluffy {if you don’t like super sweet cookies, you can leave the sugar out and it will still taste good}. Add the meringue mixture, molasses, and vinegar; beat well on high speed until batter is smooth and well blended.

Phase Four: Add dry ingredients gradually, beating continually with mixer. When batter becomes too stiff for the mixer, remove beaters and stir by hand.

The next step is one that I didn’t do. Maybe I should have to keep my mens from losing limbs.

Phase Five: Cover bowl and chill for 3 hours or overnight. After chilling the dough, divide in thirds.

I did do this, though:

Phase Six: Refrigerate two-thirds while you work on one-third. On a lightly floured surface, roll out dough to 1/8-inch thickness. Use cookie cutters to cut out shapes. Place cut outs on a greased cookie sheet about 1-inch apart. {Be sure to make small openings in the top of each shape if you plan on hanging the cookies as ornaments!}

Phase Seven: Bake at 375 degrees for 5-6 minutes. Let cookies cool for about a minute before transferring them to a wire rack.

Phase Eight: Decorate! {Separate post on decorating coming soon!}

Enjoy Baking!!

12.21.2010

Lookin' Good!

Hey Good Lookin' is lookin' good with a new look! I'm excited to get back into updating this blog because cooking is something I am wanting to learn more about and get better at once we get into our new house! I hope you plan on checking back often! Don't forget to follow so you don't miss a tasty treat!

Happy Holidays, Y'all!

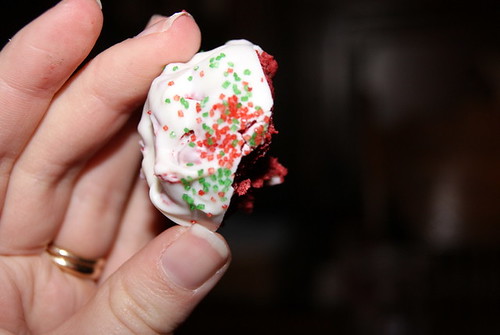
Bringin' It Back With Cake Balls!

Long time, no amazing recipe! This is about to change my friends! Get ready! This is going to be fabulous!!


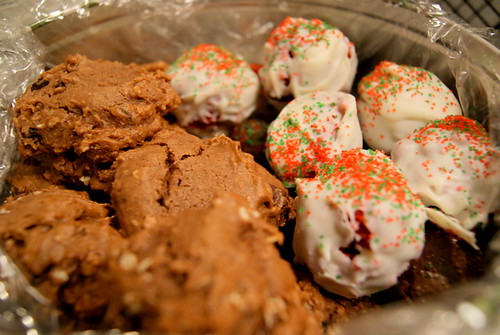
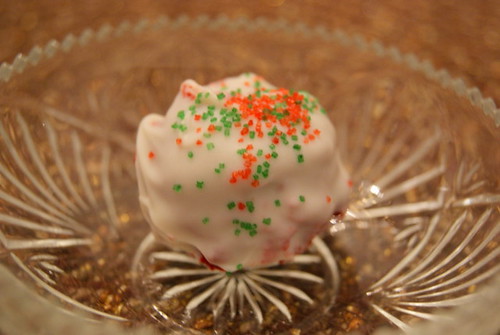
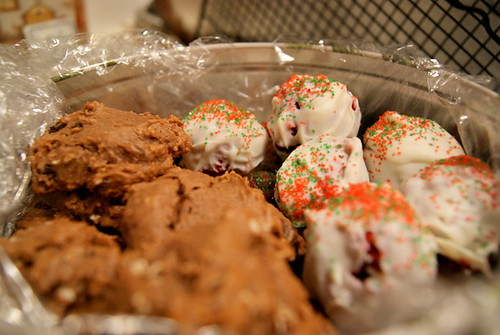
Those cookies sure look fantastic, but I wanna talk about the cake balls!


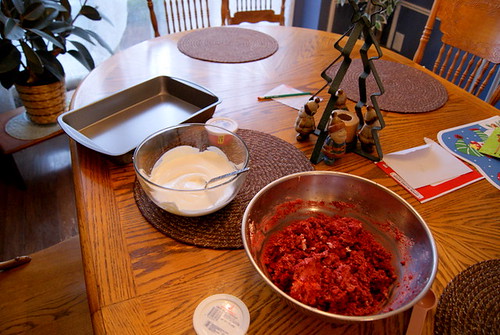
Here's what you need:

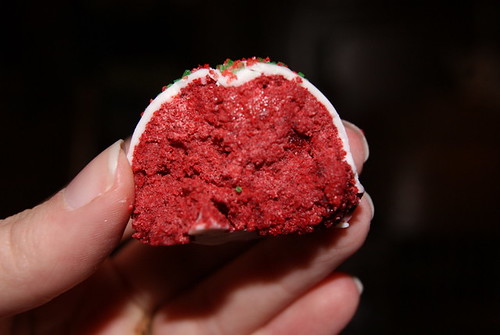
1 Box Red Velvet cake mix (or any... by the way if your house smells like chocolate as you bake it, it's because Red Velvet Cake is actually Devil's Food Cake with red dye. Juuuust so ya know.)
1 Can Cream Cheese frosting
1 or 2 Packages of almond bark (you can use regular chocolate or white chocolate - and I say 1 or 2 because I ran out with just 1.)
Optional: Sprinkles

And here's what you do:

1. Bake cake as directions on the box say to.
2. Let cake cool for a bit, but while it is still warm, crumble it up in a big bowl.
3. Add the cream cheese frosting and mix it all up really well.
4. ****VERY IMPORTANT**** Stick the cake mixture into the FREEZER for about an hour. I stuck it in the fridge for like 2 and it didn't do very well... do it in the freezer if you can!
5. Melt your almond bark in the microwave or whatever... just do what the package says.
6. Take your mixture out and make little balls... I used a measuring spoon (tablespoon I think) to scoop it out and then rolled it into a ball.

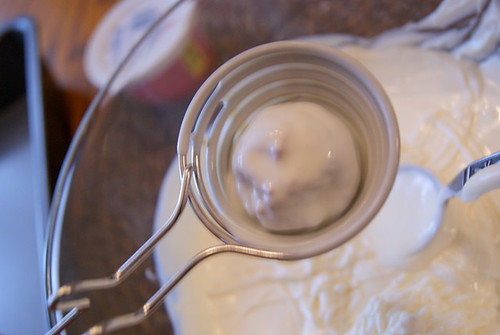
7. Dip the cake balls into the melted almond bark. I used a Pampered chef egg separator. It worked pretty well for me. Some people use tooth picks or skewers.

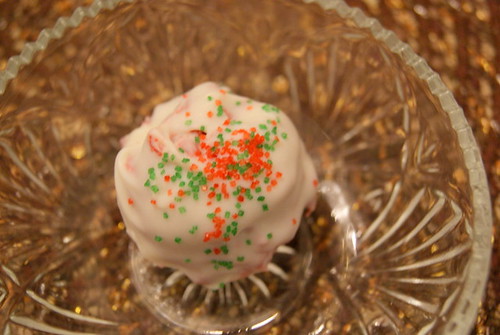
8. If you're using sprinkles, make sure you apply them before the coating hardens!

Voila! You have cake balls and they are fantastic.


Perfect for the holidays! Make some friends or family really happy!


Enjoy!

5.15.2010

Cookies and Cream Cupcakes

Friends, I am going to be candid with you. You may be thinking that with all the sweets I bake and share with you all that we are some of the most unhealthy people on the planet. But I'm going to be honest with you. I rarely eat what I bake. I try it, of course, but sometimes it doesn't go further than there.

But there has recently been a huge exception.

31212_114939141880060_100000919245356_88421_7014831_n

Do you blame me? Really, do you blame me for not being able to stay away from these cupcakes? I'm not going to disclose how many I actually ate... because I don't remember. But I'm telling you... these cupcakes had a hold on me. I will never make them again....

Ok.... I may. If I am feeling brave enough to feel vulnerable.

Here is what you need:

Cupcakes:
1 box Betty Crocker® SuperMoist® devil's food cake mix
Water, vegetable oil and eggs called for on cake mix box - however, I used 5 egg whites instead of 3 eggs

31212_114939125213395_100000919245356_88417_5049456_n (1)

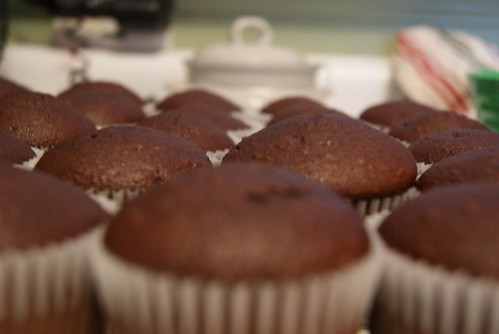
Seriously, there is little more beautiful than 5 rows of freshly baked devils food cake cupcakes...

Filling:
3/4 cup Betty Crocker® Whipped fluffy white frosting
1/2 cup marshmallow creme

31212_114939128546728_100000919245356_88418_3754446_n

Here's a tip. If you don't have the desire or money to get a cupcake decorator or anything like that, and you still want to fill your cupcakes, I think these things are sold at like WalMart or a Dollar Store... Not sure. The reason I used it is because I forgot to bring mine to my mom's. Anyway, fill it up with your filling, insert it into your cupcake and squeeze. Make sure you pull up as you squeeze so your cupcake doesn't explode...

Frosting and Garnish:
1 container (12 oz) Betty Crocker® Whipped fluffy white frosting
10 oreos, coarsely broken (about 1 cup)

31212_114939131880061_100000919245356_88419_3864090_n

Here's what you do:

1. Heat oven to 350°F (or 325°F for dark or nonstick pans). Place paper baking cup in each of 24 regular-size muffin cups. Make and bake cake mix as directed on box for 24 cupcakes, using water, oil and eggs. Cool in pans 10 minutes. Remove from pans to cooling racks. Cool completely, about 30 minutes.
2. Stir together filling ingredients and fill yo' cupcakes.
4. Frost cupcakes with 1 container frosting. Garnish each with about 2 teaspoons broken cookies.

31212_114939138546727_100000919245356_88420_1116856_n

Guys... I'm telling you... these cupcakes are amazing. Don't believe me? Check these out:

31212_114939181880056_100000919245356_88426_6012359_n

31212_114939185213389_100000919245356_88427_2975894_n

Incredible.

Enjoy!